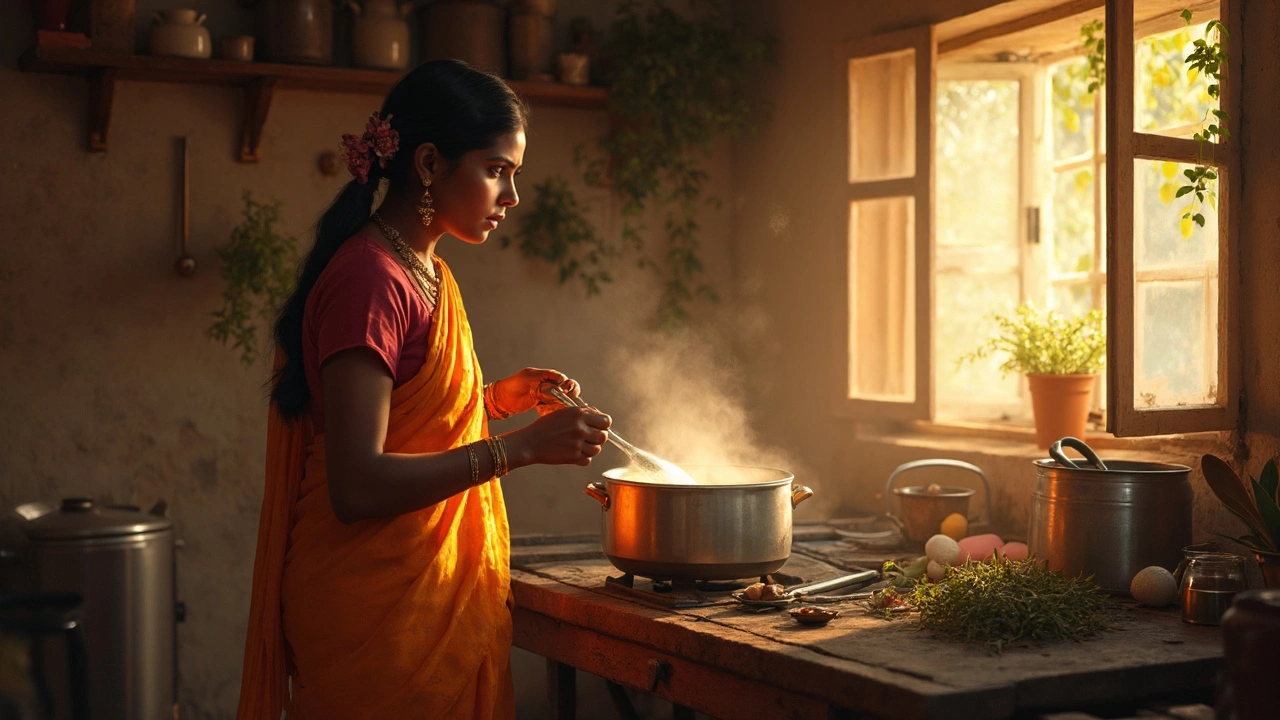
So, you're standing in the kitchen, gazing into your pot, and wondering why your milk isn't turning into paneer. Been there, right? The excitement of making your own paneer at home can sometimes be replaced by frustration when things don't go as planned. But don’t worry, you’re not alone, and there are usually some pretty common hiccups that you can avoid with just a little knowledge.
First things first—let's talk about the milk. Not all milk is created equal. If you're using ultra-pasteurized milk, we might have found your culprit; this milk is heated for longer shelf life, which also makes it difficult to turn into paneer. Try using fresh, full-fat milk for the best results. There’s nothing like the richness of full-fat milk to set the stage for creamy paneer.
Understanding Milk
Before you start on your homemade paneer journey, you need to get friendly with your main ingredient—milk. Not all milk is equal, especially when you're trying to make some delicious cheese.
Full-fat milk is your best bet. It’s dripping with the richness and creaminess required for the kind of homemade paneer that’ll make you wonder why you ever bought it from the store. Plus, it curdles beautifully. If you can, aim for raw or at least fresh, non-homogenized milk. This keeps all those lovely fat globules intact, perfect for clumping together when you add the acidic agent.
Beware of Ultra-Pasteurization
Ultra-pasteurized milk might sound fancy and all superior, but when it comes to making paneer, steer clear! This milk is heated at a very high temperature for a longer shelf life. However, this process also affects the proteins that help form curds, making it a real pain to curdle. Always check your labels before buying!
Get the Temperature Right
Temperature can make or break your paneer. Heating milk too quickly or at too high a temperature can prevent it from curdling properly. Aim for a slow, gentle heating process and bring it to a slight simmer before adding your acid. A kitchen thermometer can be your best friend here, aiming for around 85°C (185°F) before introducing lemon juice or vinegar.
In short, choosing the right milk and handling it with care is the first step to successful homemade paneer. Isn’t it amazing how just one ingredient's quality can influence your cooking adventure?
The Curdling Process
Curdling is where the magic happens when making paneer. But magic needs a little science behind it, right? Here’s how it works: You introduce an acid to your milk, such as lemon juice or vinegar, and that's when milk proteins start to separate and form curds. When it’s done right, these curds will be soft and clump together perfectly, leaving behind a watery substance called whey.
The Importance of Temperature
The temperature is super important here. The ideal situation is keeping your milk just below boiling—think around 85°C to 90°C (185°F to 194°F). Believe it or not, if your milk is too cold, the curds might not form, and if it’s too hot, you could end up with a grainy texture. So grab a thermometer if you can; it'll save you a lot of guesswork.
Adding Acidity
Once your milk is at the right temp, it’s time for the acid. Slowly add your lemon juice or vinegar while stirring gently. This is when those proteins, like casein, begin to separate. It usually takes just a few minutes, so have patience. Add the acid a bit at a time because you can always put more in, but you can’t take it out!
Signs of Successful Curdling
If you’ve done everything right, the curds should be forming into one big, shiny blob. The whey will look clear and yellowish. If the whey is still milky white, you might need a bit more acid or some more heat.
| Milk Type | Result |
|---|---|
| Full-Fat Fresh Milk | Best for creamy, soft paneer |
| Low-Fat Milk | Can work but less creamy |
| Ultra-Pasteurized Milk | Less likely to curdle effectively |
By understanding these steps and sticking to them, you're on your way to crafting the perfect homemade paneer.

Common Mistakes
If your paneer isn't coming out right, you might be hitting a few snags along the way. Let's demystify some common blunders that could be blocking your path to deliciousness.
1. Wrong Type of Milk
As mentioned earlier, using ultra-pasteurized milk is a major no-no for making paneer. This type of milk has been heated at high temperatures, killing off the bacteria that play a role in curdling. Go for fresh, full-fat milk. You'll notice the difference in texture and taste.
2. Incorrect Temperature
Temperature matters more than you might think. Heating the milk too fast or too slow can mess with the curdling process. You want to gently bring your milk to a boil. Once it starts bubbling, add your acid (like lemon juice or vinegar) slowly while stirring. Rushing this will leave you with some stubborn milk that won't separate into curds.
3. Not Using Enough Acid
Acid is crucial because it curdles the milk. If you're skimping on lemon juice or vinegar, that's likely your issue. Make sure you're adding a sufficient amount to cause the curdling action. Typically, a couple of tablespoons will do the trick for a liter of milk.
4. Inadequate Draining
After you've got your curds, what you do next is just as important. If you don't drain the whey properly, you'll end up with soggy paneer. Use a muslin or cheesecloth to wrap your paneer and press it with a weight to squeeze out the excess liquid. Think of it as a paneer workout session for the perfect firmness.
| Milk Type | Brands (U.S.) | Success Rate for Paneer |
|---|---|---|
| Ultra-Pasteurized | Horizon, Organic Valley | Low |
| Full-Fat Fresh | Local Dairies, Trader Joe's | High |
Keep these common mistakes in mind, tweak your process, and pretty soon, you'll be crafting perfect homemade paneer like a pro.
Pro Tips for Perfect Paneer
Alright, let’s get into the juicy details to consistently nail your homemade paneer. Having the right tricks up your sleeve can totally change the game. Ready?
Use the Right Milk
We can't stress this enough: fresh, full-fat milk is your best friend. Steer clear of ultra-pasteurized varieties as they won’t curdle as easily. Lucky to have access to farm-fresh milk? Go for it! It makes a world of difference.
Finding the Ideal Temperature
Timing and temperature are key in the paneer-making process. Heat your milk slowly, stirring occasionally to prevent it from sticking to the bottom. You're aiming for a temperature just below boiling—about 180°F (82°C). If you don't have a thermometer, watch for small bubbles forming around the edges.
Choosing the Right Coagulant
Lemon juice, vinegar, or citric acid are your go-to choices for curdling the milk. Stir in gradually while maintaining the heat. Ever noticed how the milk sometimes refuses to curdle? Squeeze in a tad more acid and give it a gentle stir.
Practice the Perfect Strain
A cheesecloth or any clean, thin cloth works best. Remember, gently pressing out excess whey is crucial but don't go overboard as it may lead to overly dry and crumbly paneer. Aim for a soft, cohesive texture.
Storing Your Paneer
Got leftovers? To keep your homemade paneer fresh and moist, store it in a bowl of water in the fridge. Swap out the water daily, and you're good for up to a week. Freshness is the key to maximizing that milky goodness!
| Step | Tip |
|---|---|
| 1 | Start with fresh, full-fat milk |
| 2 | Heat slowly, up to 180°F |
| 3 | Add coagulant gradually |
| 4 | Use cheesecloth for straining |
| 5 | Store in water for freshness |
