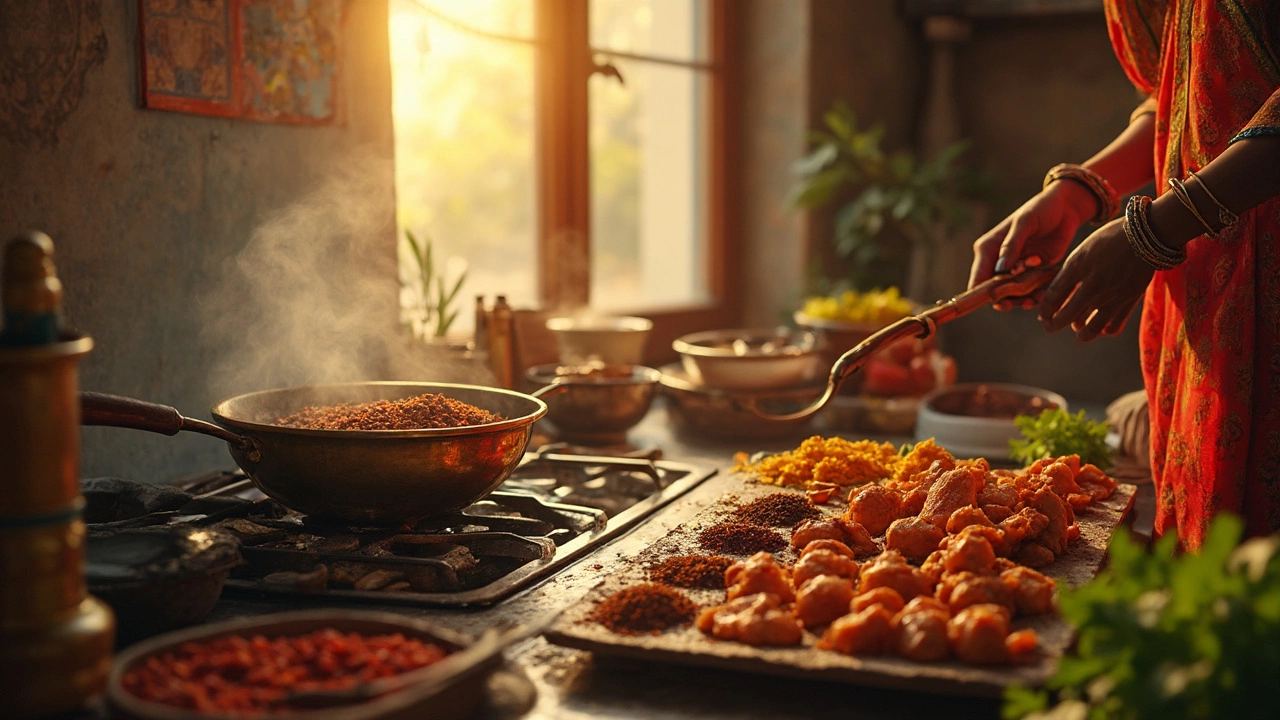
If you’ve ever eaten chicken curry at someone’s home and thought, ‘Why can’t mine taste like this?’—you’re definitely not alone. The answer isn’t a mysterious secret ingredient. It’s about a handful of behind-the-scenes moves that most recipes don’t spell out.
The real magic lies in how you prep each step. It starts with how you treat your spices. Ever noticed the big flavor punch in restaurant curry? That’s usually because the spices are toasted fresh, not poured straight from an old jar. The way your onions melt down. How you brown the chicken. Even the kind of pan you pick changes the end result.
So, if you want a curry that smells as good as your favorite takeout and tastes way better than a jarred sauce, it’s time to look beyond the recipe list. No need for fancy chef skills—just a few clear, smart changes to what you already do. Ready to go beyond ‘just okay’ curry?
- Why Curry Starts with Fresh Spices
- The Art of Browning for Real Flavor
- Why Onions Make or Break Your Curry
- Chicken Prep: Cuts, Marinades, and Timing
- Getting the Right Gravy Texture
- Finishing Touches: What Chefs Never Skip
Why Curry Starts with Fresh Spices
You can’t make a good chicken curry with stale spices. The problem is, ground spices lose their punch fast—sometimes within six months. That curry powder at the back of your cabinet probably isn’t doing you any favors. Fresh, whole spices like cumin seeds, coriander, or cardamom make all the difference when you toast and grind them yourself. You get deeper color, better aroma, and flavor that actually stands up to slow cooking.
Check out the numbers below—this is how quickly spices can lose their flavor strength when stored after grinding:
| Spice Form | Time to Lose Over 50% Aroma |
|---|---|
| Whole spices | 1-2 years |
| Ground spices | 3-6 months |
So, should you toss your old stash? Probably. Buy whole spices in small amounts instead. Toast them in a dry pan for a minute or two, grind them (even a coffee grinder works), and use them right away. You’ll notice the difference as soon as they hit the hot oil—your kitchen will smell like an authentic curry house in seconds.
If you want your curry to pop, get these spices fresh:
- Coriander seeds
- Cumin seeds
- Black peppercorns
- Cardamom pods
- Cloves
- Mustard seeds
Most Indian cooks keep these staples handy and toast what they need just before cooking. You don’t need a fancy spice kit or a million jars. Quality matters way more than variety. And remember, cheap bulk ground spices save money, but they cost you real flavor.
The Art of Browning for Real Flavor
This is the real game-changer: if you skip proper browning, even the best ingredients will leave your chicken curry tasting flat. Browning means letting your onions, spices, and chicken develop deep color right in the pan. That rich, almost sweet aroma you love at Indian restaurants? Mostly, it’s from this step.
Browning onions is where things start. You want to slice them evenly and cook them low and slow—sometimes up to 15-20 minutes—so they caramelize instead of just going soft. Rushing this step leads to bland gravy, because it’s the golden-brown bits that give the sauce that backbone of flavor. Use a wide, heavy-bottomed pan so everything cooks evenly. Avoid crowding, or onions will steam instead of brown.
Once onions are ready, the next move is getting a little char on your spices—especially if you’re adding powdered ones. Spices bloom best when cooked in oil, not water, and you’ll smell the change in flavor right away. Keep stirring so nothing burns, and add a splash of water if things get too dry.
Chicken needs its moment, too. Don’t just toss it in and simmer. First, sear it on all sides until you see golden or even slightly crispy edges. This step locks in moisture and adds another level of flavor. Some home cooks even set the seared chicken aside, then add it back once the gravy is ready, so it doesn’t get soggy.
If you want to see the actual impact, check out this flavor-boost table—it’s proof that browning isn’t just for show:
| Step | Time Needed | Main Benefit |
|---|---|---|
| Onion Browning | 15-20 min | Deepens sweetness, makes base richer |
| Spice Toasting | 2-3 min | Amps up aroma and taste |
| Chicken Searing | 4-6 min | Seals in juices, builds meaty depth |
Quick tip: If your pan feels dry or your ingredients look stuck, don’t be afraid to add a tiny bit more oil or a splash of water. And always scrape up those browned bits—they’re pure flavor gold for your curry sauce!
Why Onions Make or Break Your Curry
Underestimating onions is the quickest way to mess up a chicken curry. Onions do much more than add bulk—they decide the sauce’s entire flavor and texture. They give the gravy its sweetness, body, and that rich brown color people love in a good curry. If you've ever bit into a curry that tasted a bit flat or oddly sweet, chances are the onions weren’t cooked right.
Raw onions have a sharp taste, but once you slice them thin and spend time sautéing, everything changes. Most Indian curries ask you to cook onions low and slow until they turn golden-brown. This process, called caramelizing, pulls out the natural sugars and develops deep flavors. Rushing this step with high heat leaves them burnt on the outside and raw inside—totally ruins the base.
Check out how onion prep affects your curry:
| Onion Cooking Style | Flavor Impact | Texture Result |
|---|---|---|
| Lightly sautéed | Bland, sharp | Thin, watery sauce |
| Well-caramelized | Sweet, deep, complex | Thick, rich gravy |
| Burnt | Bitter, harsh | Gritty, uneven |
A handy tip: always cut onions evenly so they cook at the same rate. Two medium onions for every pound of chicken is a solid starting point, but you can tweak that based on how much gravy you want.
- Use red or yellow onions for the best depth of flavor—white onions don’t match up.
- Cook onions on medium until soft, then crank up the heat, stirring constantly, to finish browning.
- If you’re in a rush, add a pinch of salt while sautéing. It pulls moisture out faster and speeds things up.
Getting the onions right is half the battle in a proper curry. Once you nail this, the rest becomes way easier—and the whole dish tastes way better.
Chicken Prep: Cuts, Marinades, and Timing
The chicken you choose for your curry isn’t just about taste—it actually changes the whole texture and richness of the dish. If you use boneless breast, you’ll end up with pieces that risk drying out, while thighs (bone-in or boneless) stay juicy and soak up more flavor. Lots of home cooks swear by bone-in chicken because it makes the gravy richer, thanks to the slow release of collagen as it cooks.
Getting flavor deep into the meat means marinade matters, but it’s less about fancy ingredients and more about time. A simple mix of yogurt, salt, turmeric, chili powder, and maybe a bit of ginger-garlic works wonders. Anything less than 30 minutes and you won’t see much difference. Two hours is your sweet spot, though you can even leave it overnight for the best flavor boost.
- Use about 1/2 cup plain yogurt for each pound of chicken.
- Add 1 tsp salt, 1/2 tsp turmeric, 1 tsp chili powder, and 1 tbsp ginger-garlic paste.
- Let the chicken rest in the marinade in the fridge for at least 30 minutes (ideally overnight).
Cooking timing also makes a difference, especially for chicken curry that tastes just right. If you add chicken too soon, it can turn stringy; too late, and it won’t mix well with the spices. Most cooks add it once the onions and spices are cooked down and fragrant—never when the onions are still raw. Simmer until the chicken is cooked through, usually 15-25 minutes depending on cut and size.
| Chicken Cut | Ideal Marinade Time | Simmering Time in Curry |
|---|---|---|
| Bone-in Thighs | 2-12 hours | 25-30 min |
| Boneless Thighs | 1-8 hours | 18-22 min |
| Chicken Breast | 30 min-2 hours | 12-15 min |
If you're short on time, even a 30-minute marinade makes a difference, but if you want curry that really stands out, go for a longer soak and use thighs whenever possible. The extra fat and connective tissue pay off with chicken that’s tender and flavorsome every time.
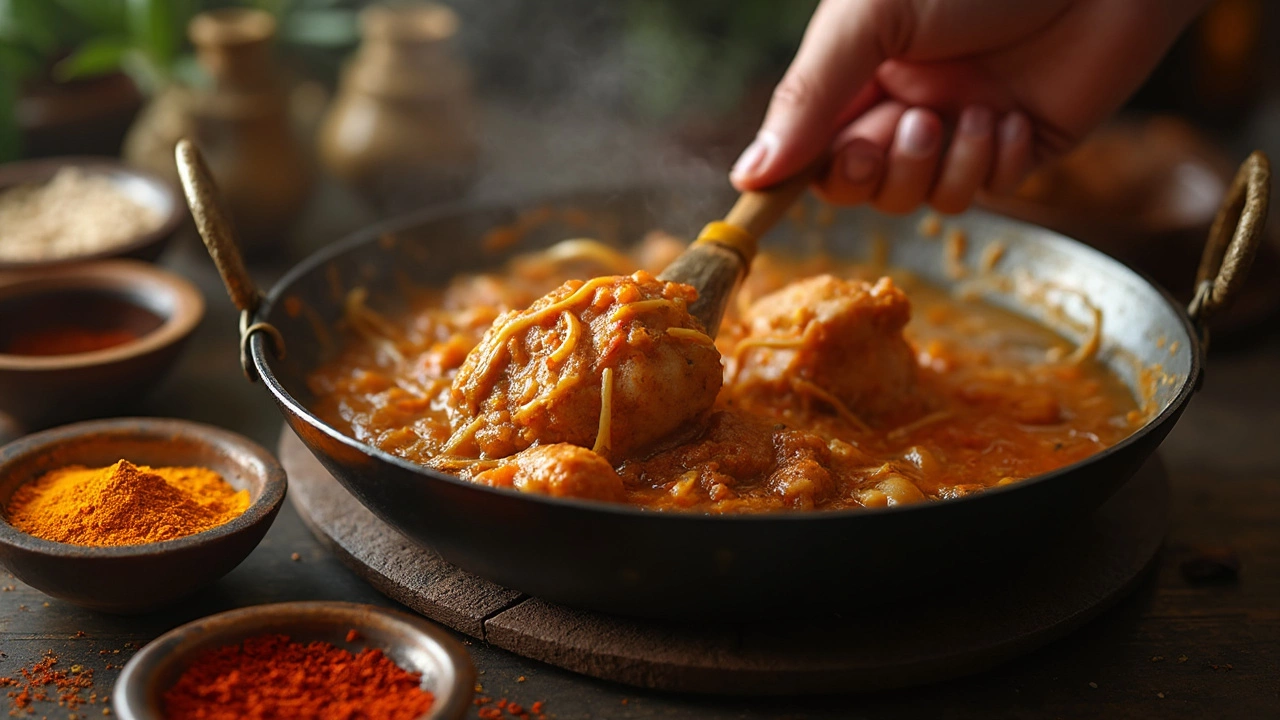
Getting the Right Gravy Texture
Nailing the right gravy texture is the difference between a chicken curry that clings to your rice and one that just pools at the bottom of the plate. Most people just pour in some water and hope for the best, but there’s a bit more science involved.
First, the way you chop your onions changes everything. For a thick, smooth gravy (the kind you find in most Indian restaurants), you want to blitz your onions in a blender until you have a paste, not big chunks. This paste melts down as it cooks, giving that creamy base without actual cream.
Next up, the amount of time you sauté your onion-tomato mix really matters. The longer you cook this base, the darker and richer your gravy gets, and the less it tastes like raw veg. Don’t rush it—even five extra minutes makes a difference.
Spices need to fry in hot oil, not just simmer in liquid. Sprinkle your ground spices into the onion base and let them sizzle for a minute before adding anything wet. This simple step brings out more depth and gives your curry that signature aroma.
- Prefer a thinner gravy? Add hot water or chicken stock, but always in small splashes, stirring as you go. Taste and adjust. If you add too much liquid at once, your curry goes watery and flat.
- Like it creamy? Stir in some full-fat yogurt or coconut milk at the end—don’t boil after adding, or it might split. Stir gently and only heat through.
- Want richer texture? Blend a handful of toasted cashews with a little water and pour this in during the last five minutes of simmering.
The last trick—let your curry rest, covered and off-heat, for 10 minutes before you eat. This gives the chicken and gravy a chance to soak up every bit of flavor and thickens things up a little more.
If you follow these tips, you’ll get that perfect, restaurant-style chicken curry gravy right at home—spoon-coating, not sloppy, and full of flavor in every bite.
Finishing Touches: What Chefs Never Skip
The last step can instantly make or break your chicken curry. Even if everything else is on point, these finishing touches are what push the flavor over the top—this is where home cooks often slip up. Professional chefs don’t skip these for a reason.
First, they always add something fresh at the end. Not just for color, but to balance all those rich, spicy flavors. Here’s what they reach for:
- Chopped cilantro (coriander): Toss some on just before serving. It brightens up the whole dish. If you’re not a cilantro fan, try a small squeeze of lime instead—not lemon, because lime has the right sharp kick.
- Fresh green chilies: Thinly sliced and sprinkled on top. These bump up aroma and give a gentle heat that doesn’t overpower.
- Garam masala: Sprinkle a teaspoon right at the end. If you add it earlier, it loses its punch. Store-bought is fine, but freshly-ground is what the pros swear by.
- Butter or cream: Just a small swirl adds depth and a smooth finish. In North Indian-style curries, this is non-negotiable. One spoon can make the curry feel restaurant-worthy.
Chefs are also careful about how they rest the curry. Letting it sit, covered and off the heat, for 10-15 minutes allows the flavors to blend fully. If you’re short on time, even five minutes helps. And don’t forget to taste for salt at the very end—spices settle during cooking, so the seasoning might change.
Here’s a helpful quick-reference table with common finishing ingredients and what they bring to the dish:
| Ingredient | Effect on Curry |
|---|---|
| Cilantro | Fresh, light aroma and color |
| Lime Juice | Balances richness, adds tang |
| Garam Masala | Warm, complex finish |
| Butter or Cream | Creaminess and smooth texture |
| Slivered Green Chilies | Fresh bite and added heat |
One last detail: serve with hot rice or fresh naan right away. Curry loses some of its charm if it cools down or sits out in the open. Chefs time it so everything hits the table warm, with the aromas still going strong. That’s the stuff guests will remember.