Crafting the ideal dosa batter is an essential skill in South Indian cuisine. The crispy, delicate dosa is beloved around the world, and its secret lies in the right combination of ingredients—particularly the balance between rice and urad dal.
If you've ever wondered about the perfect ratio of rice to urad dal, you're not alone. Achieving the perfect taste and texture requires both precision and patience. With 3 cups of urad dal on hand, determining how many cups of rice to use is key.
In this guide, we'll explore the traditional methods of creating dosa batter, unraveling the simple yet significant secrets that make all the difference. Whether you're a novice or a seasoned cook, these tips will ensure that your dosa batter brings joy, right from your kitchen. So, let's dive into the world of dosas and discover how to achieve that perfect crispy crepe.
- Understanding the Basic Ratio
- Soaking and Fermentation Tips
- Blending for Perfect Consistency
- Cooking and Storing Dosa Batter
Understanding the Basic Ratio
Creating the perfect dosa batter recipe is much like conducting a symphony, where the harmony between the instruments—here, the rice and urad dal—contributes to the masterpiece. In the realm of South Indian cooking, this balance is typically achieved with a classic ratio. Traditionally, cooks have leaned towards using three parts rice to one part urad dal, which gives the batter a slightly runny yet thick consistency ideal for that famed dosa crispiness. With 3 cups of urad dal, you would require approximately 9 cups of rice. This proportion might raise eyebrows, especially when one ponders over the large amount of rice. However, each grain plays a critical role in lending that cherished texture and subtle flavor, transforming the simple batter into the iconic crepes enjoyed not just in Indian households but also across gourmet cuisines worldwide.
Historically, the selection of rice for dosa making has been a matter of regional preference. In many households, parboiled rice or a specific variety known as idli rice is celebrated for its starchy and adhesive properties, contributing to the batter's cohesiveness and the final dosa’s golden hue and delicate crunch. Some culinary enthusiasts argue for the inclusion of a small portion of flattened rice, or 'poha', which can enhance the softness of the dosa. While some modern recipes suggest reducing the rice proportion for health benefits, purists often observe that such adjustments can detract from the dosa's authentic texture and taste.
The magnetic allure of the dosa not only lies in its taste but also in the chemistry behind its preparation, akin to a well-tuned recipe for any beloved dish. According to the renowned Indian chef Tarla Dalal, "The secret to a perfect dosa lies not only in the right ingredients but in the meticulous attention to its proportions and preparation.” Her words resonate with the culinary wisdom that suggests sticking to this tried-and-tested ratio for ensuring the delightful interplay of flavors and textures.
Understanding these details can be key to mastering this celebrated dish. Generally, when using the specified amount of rice and urad dal, the outcome is an airy, fermented batter that eventually yields dosas that are both nourishing and indulgent. To illustrate this simply, consider that beyond taste, getting the ratio right is essential for the fermentation process. This naturally occurring phenomenon of fermentation invites beneficial probiotics that may contribute to gut health, thereby offering nutritional as well as sensory satisfaction.
A delightful dosa, much like everything else in life, is worth the effort, and understanding this fundamental ratio is just the beginning of a journey into the vast and flavorful world of South Indian cooking. Armed with this knowledge, cooks around the world can whip up dosas that not only whet the appetite but also evoke a comforting sense of nostalgia and cultural connection, one batch of batter at a time.

Soaking and Fermentation Tips
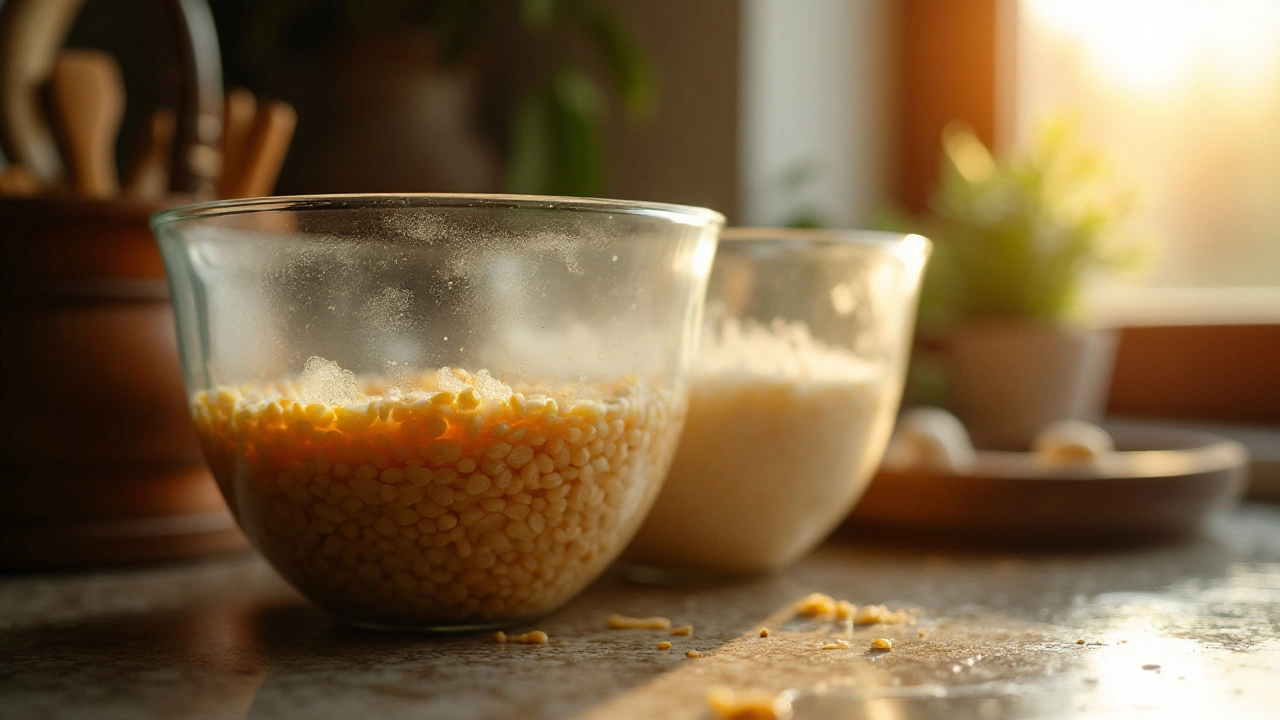
The journey to delicious dosa starts much before it hits the pan. It begins with the process of soaking, a seemingly humble step but crucial for achieving that perfect blend of fluffiness and crispiness. When dealing with 3 cups of urad dal, it is important to ensure your dal and rice are adequately soaked. This process typically requires separate soaking of urad dal and rice, with the dal needing about 8 hours under cool water. This allows the dal to absorb moisture fully, which enhances the batter’s ability to ferment and rise later on.
On the other hand, the rice, which complements the urad dal, should also soak for a reasonable duration. Usually, people use either a combination of parboiled and raw rice, or sometimes opt for idli rice. If we are to use 6-9 cups of rice in the mix, a ratio often preferred by many, they should soak for about 6 hours. This long soaking period is not arbitrary; the rice needs to become soft enough to grind smoothly, an essential factor in achieving a consistent batter texture.
Once soaking is complete, it's time to head towards grinding, which itself is an art. The dal needs to be ground first and should yield a smooth, velvety mixture resembling a smooth paste. This process involves adding water gradually to avoid too runny a paste. Similarly, the rice needs to be ground to a slightly grainier consistency, providing the batter texture distinct from that of idli batter. It's vital to remember that patience is key during grinding.
Optimizing Fermentation
After successfully creating the perfect mix of ground rice and urad dal, the next crucial step is fermentation—a process fundamentally influenced by the climate and environment. Fermentation allows the natural yeasts in the air to transform the batter, producing a fragrant, slightly tangy mixture. This not only helps in making the dosa crispy but also adds nutritional benefits through probiotics. It's known that a warmer climate accelerates fermentation, making Wellington's mild summer days perfect for watching the batter rise overnight. In cooler seasons, pre-warming the oven slightly or using a warm water bath can be a great help.
Fermentation time can vary greatly from 8 to 12 hours. A well-fermented batter is one that has risen slightly, showcases bubbles, and releases a pleasant sour aroma. To ensure it ferments properly, cover the vessel with a lid but not airtight, allowing some air to flow over.
According to traditional South Indian chefs, "Dosa batter is ready when you open the lid and the sour, tangy scent nudges your nose gently."This indicates the batter is filled with active bacterial cultures, ready to transform into that delightful dosa you are yearning for.

Blending for Perfect Consistency
In the process of creating dosa batter, achieving the right consistency is akin to painting a masterpiece. It's not merely about mixing ingredients, but about coaxing them into a harmonious blend that promises those golden brown, crispy crepes when cooked. The key to blending for the perfect consistency lies in understanding both the science and intuition involved in this age-old culinary tradition. If you're starting with 3 cups of urad dal, the equivalent 6 to 7 cups of rice forms the foundation of a balanced batter—a ratio celebrated through countless generations.
Begin by ensuring both the rice and urad dal have been properly soaked. This step, though often undermined, is crucial as it softens the grains, allowing them to blend smoothly. A standard practice is to soak the rice and urad dal separately for about six to eight hours, or even overnight. Once the ingredients are well-soaked, they are ready to be ground, typically using a wet grinder or a high-quality blender which can mimic traditional stone grinders with its intense, consistent power.
"The secret to a perfect dosa is a batter that feels like it has a life of its own, smooth yet thick, with a texture that doesn't reveal its magic until it's on the pan," shares culinary expert and author of ‘South Spice Sutra’, Maya Rao. This wisdom reflects the importance of texture in creating the impeccable dosa batter.
While blending, start with the urad dal, adding a touch of water incrementally. The goal is to achieve a fluffy, ivory-colored paste that holds together without being too watery. As the urad dal whips up, it draws in air, giving the batter its characteristic lightness. Once the dal batter is complete, proceed with the rice. The rice must be ground until it achieves a slightly grainy, sandy texture. Perfect consistency comes from the right blend of smooth urad dal and gritty rice.
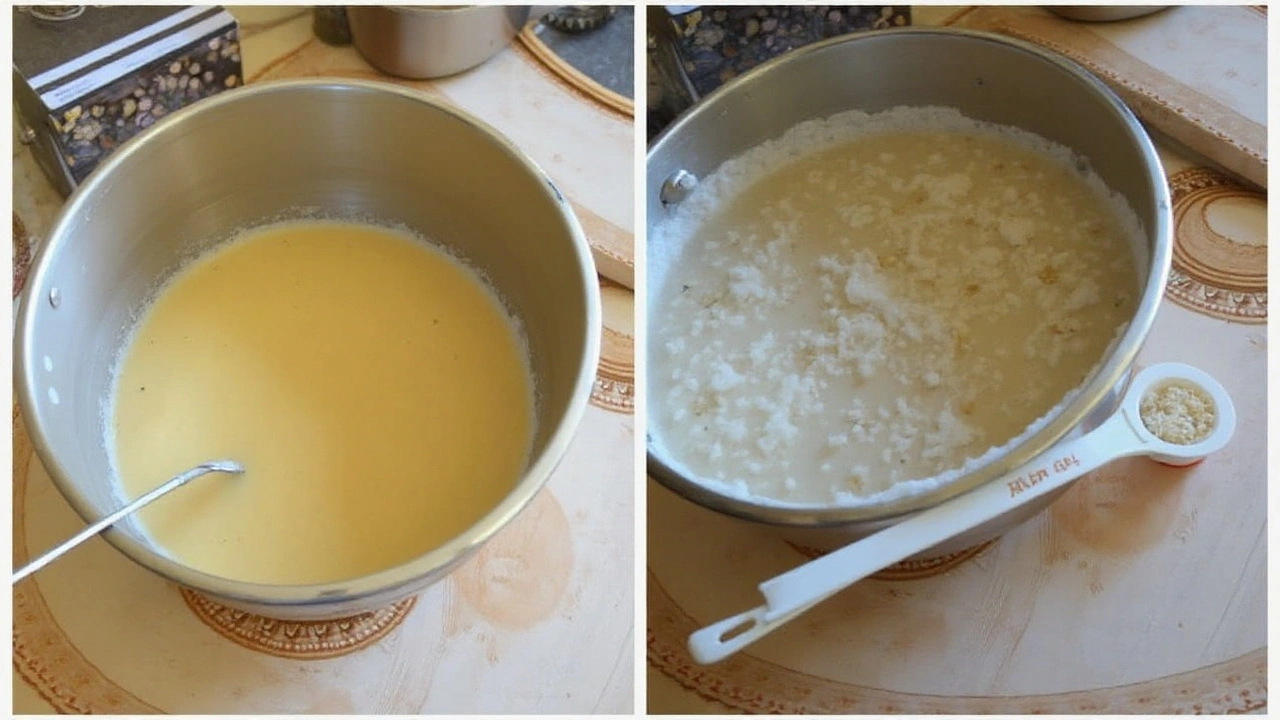
Combining these two elements is where the magic happens. Mix them in a large bowl, adding a bit of water, and stir thoroughly until integrated into a cohesive batter. At this stage, consider the ambient temperature and your bowl size; a wide bowl might aid in better fermentation. The batter should be thick yet pourable, not unlike pancake mix, ensuring that when spread in the pan, it doesn't run uncontrollably.
Finally, let the science of fermentation do its work by leaving the batter covered in a warm spot for about eight to twelve hours. This process is not just about beneficial microbes developing—it’s also about capturing the ambient yeast and allowing the live cultures in the urad dal to kickstart the reaction that leads to a lightly tangy, perfectly aerated batter. When done right, the batter rises, with bubbles hinting at the trapped carbon dioxide signaling readiness for cooking. Remember, blending the perfect dosa batter is both an art and a science; understanding each element and its role is what elevates the ordinary into the exceptional.

Cooking and Storing Dosa Batter
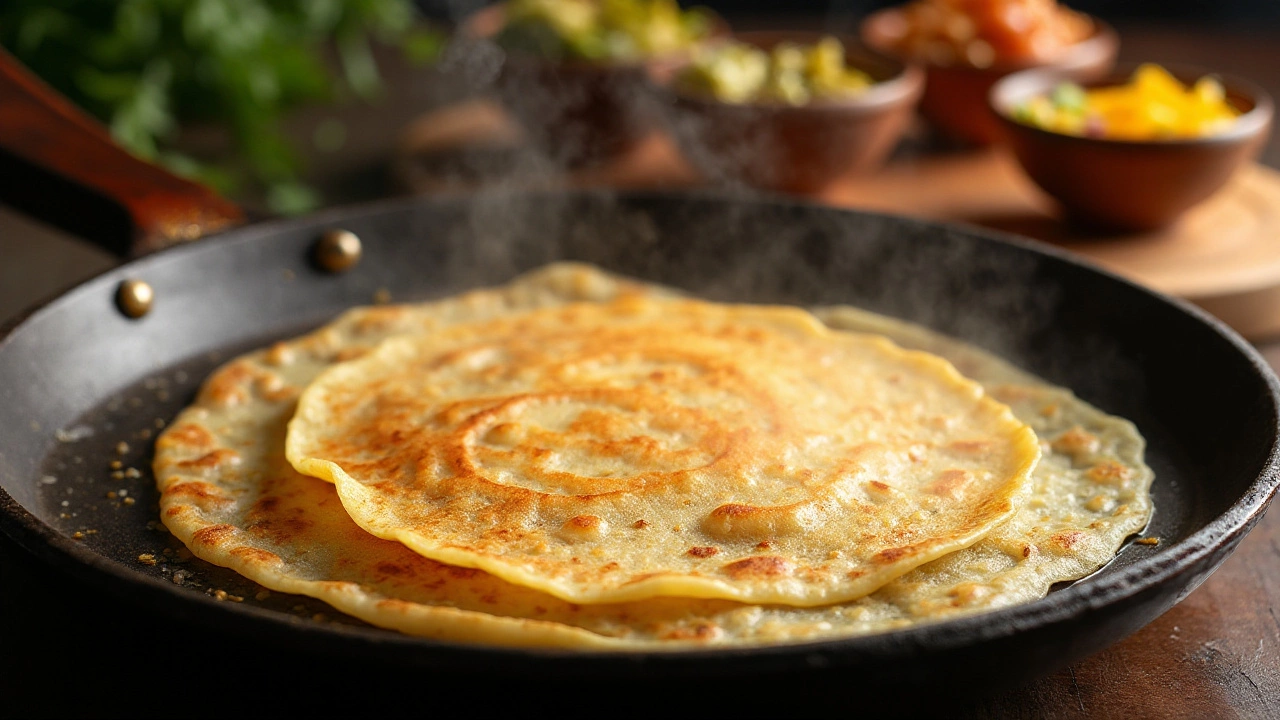
Once your dosa batter is fermented to perfection, the next stage is to master the cooking process. Ideally, the batter should be slightly frothy and vibrant in its sour aroma, which indicates it has fermented well. To cook a dosa, choose a seasoned non-stick skillet or tawa. Keep a small bowl of oil, ghee, or butter handy for brushing the pan. Start by heating the skillet over a medium flame until it’s hot. Sprinkle a few drops of water on it; they should sizzle and evaporate quickly, a sign that it's ready for the batter. Pour a ladleful of batter onto the center of the skillet. Using the back of the ladle, spread the batter outward in a circular motion, creating a thin layer. This motion is critical as it determines the crispiness of the dosa, a feature that's loved by many in this South Indian cooking tradition.
Continue to cook the dosa over medium heat, noticing as it starts to turn golden brown. Drizzle a small amount of oil around the edges to create a slight lift and help in crisping. A perfectly cooked dosa has a mesmerizing balance of airy insides and crispy edges. Once the dosa is golden and easily lifts from the skillet, fold it over and serve hot with a variety of chutneys or spicy sambhar. Storing your batter correctly is just as integral to maintaining its quality. If you're making dosas over multiple days, transfer the batter into a clean, airtight container before refrigerating. Fermented batter can last up to five days when stored properly in the refrigerator. If stored longer, the batter might become overly sour. For longer preservation, consider freezing the batter in portions, which, when thawed, can still offer admirable flavor and functionality.
Lighting up the mood with a historic kitchen anecdote, Ammaji, a renowned home cook from Chennai, shares,
"The trick is to let the dosa sing its sizzling song on the tawa. That’s when you know it’s blessing you with its flavor," says ammaji while artfully flipping a dosa, glowing with her decades of culinary wisdom.When it comes to using the batter newly acquired skills like managing the heat of the skillet and deciding on the optimal oil amount become psychological exercises refined with practice and intent. While the art of dosas benefits from meticulous precision in batter proportions and handling, it’s the personal touch in cooking and storing that turns a mundane meal into a family tradition, an experience of sharing and tasting cultural history.
It’s interesting how dosa making tips evolve around regional and cultural preferences. Some regions prefer their dosas with a potent tang, hence allowing the batter to ferment longer, whereas others favor a mild savor. Remember, the richer and more detailed you get with your preparation, the better your dosas will be. As I often muse, dosa making teaches you patience wrapped in the aroma and warmth of beautiful memories crafted in your kitchen.
