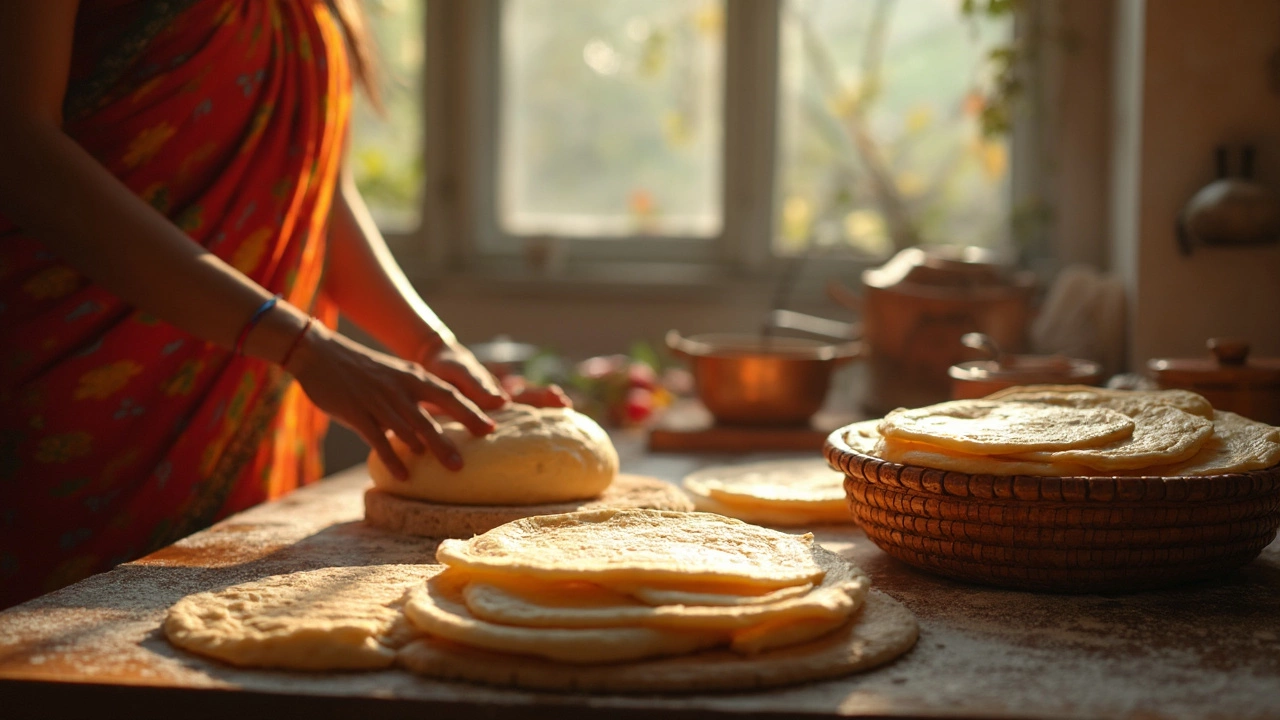
You know that moment when you lift the lid off the roti basket, and every round flatbread inside looks like it could moonlight as a clock face? Every cook—newbie or experienced—has wished for those Instagram-perfect, puffed up, buttery circles. But why is it so hard to get the roti perfectly round? There’s a science (and a little bit of magic) to it, far beyond just pushing a rolling pin around.
Most people don’t realize that the roundness of a roti isn’t just vanity. A uniform, circular shape means even cooking, steady puffing, and zero burnt edges. It’s not about flashy skills—anyone can get there with a few changes in their routine. So, if you’ve ever hidden your lopsided rotis under the pile (relatable!), you’re in the right place. Let’s pull back the curtain on the secrets to making rotis so round, even your mom’s mother-in-law would approve.
Understanding the Dough: Foundation for Perfect Roundness
You can’t build a strong house on quicksand, and the same logic applies to making round roti. If your dough isn’t right, the rest will just collapse. The majority of your roti problems can be traced back to what happens when flour meets water.
In most Indian kitchens, regular atta (whole wheat flour) is the star. But here’s something most recipe cards never tell you: every brand of atta behaves a little differently. Some soak up more water, some need less elbow grease. That’s why Indian grandmoms always touch, pinch, and squish the dough before saying, “Haan, ab sahi hai.”
The ideal dough is soft—so soft that it just gives in under your fingers, but not sticky. A widely accepted ratio is about 1 cup of atta to 1/2 cup water, but humidity, temperature, and even the age of your flour can throw that ratio off. Always add water a little at a time. When in doubt, let the dough rest for 20-30 minutes once kneaded. Why? Because resting lets the gluten chill out, which makes the dough smooth and elastic. That way, the rolling pin behaves, and the dough stretches evenly.
If you want real numbers, look at the table below that breaks down common issues and their fixes when preparing roti dough:
| Issue | Reason | Solution |
|---|---|---|
| Cracking Edges | Dough too dry | Add a tablespoon of water, knead again |
| Sticky Texture | Too much water | Dust dough with flour, knead lightly |
| Too Tough | Not enough kneading or resting | Knead longer & let rest covered |
Try mixing in lukewarm water instead of cold—this helps the gluten develop faster. Some folks even sneak in a spoon of oil or ghee to make the dough suppler. Don’t skip the resting; if you’re in a rush, even ten minutes can make a measurable difference.
Most experienced home cooks swear by the hand-test: press the dough with a clean finger. If it springs back slowly, it’s just right. If it sticks, dust on flour and knead again. Mastering this will take most of your roundness worries off the table.
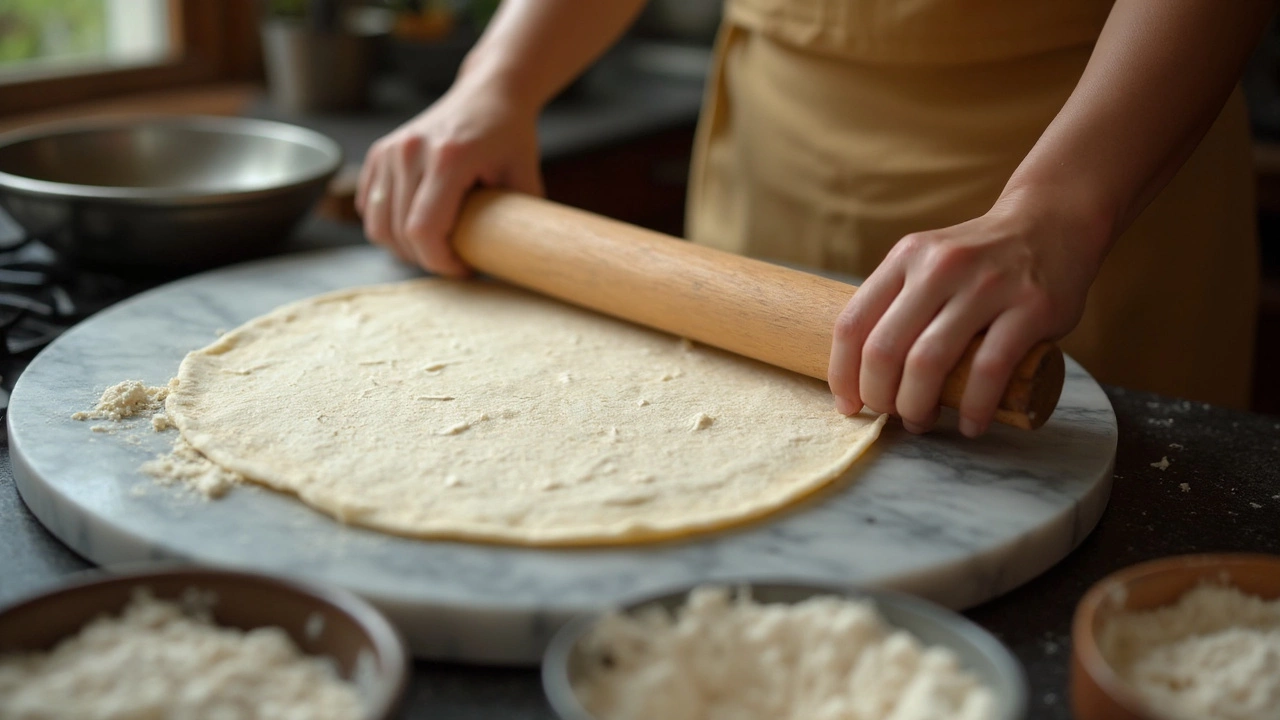
Rolling the Roti: Techniques for Smooth Circles
If you’ve ever wondered why pro cooks roll rotis like a boss, there’s one big trick—they start with a perfect ball. Pinch a small piece of dough, roll it between your palms until there are no cracks or folds, just a smooth little globe. Flatten it gently into a disk. Always dust it lightly with flour—too much and your roti gets dry, too little and it sticks to the board.
The rolling process isn’t about brute force. Use a light touch. Rest your rolling pin (belan) at the center, apply gentle, even pressure, and rotate the dough an eighth of a turn every few seconds. Think of it as a dance—roll, turn, roll, turn. If you push hard at the edges, you get those classic weird shapes—triangles, maps, you name it.
Sometimes a little hack makes life easier: place your rolled dough, as a ball, into a bit of dry flour before flattening. This stops it from sticking to your rolling surface.
Now, let’s settle a popular debate: Should you use a heavy or light rolling pin? Most home cooks in North India use a slim, lightweight belan. This gives you more control. If you’re a beginner, try both and see which feels more natural. The aim is to coax—not crush—the dough into a thin, even sheet. Go for a thickness between a quarter and an eighth of an inch; any thinner, and you’ll end up with cracker-like rotis, any thicker, and they won’t puff up corectly.
Got a stubbornly uneven dough? Try this pro-tip: After rolling, place a plate or small bowl upside down over the dough and trim the excess with a knife for the most round roti possible. Yes, it’s a little cheat—but if all you want is circles, why not?
Practice makes perfect here. Even seasoned cooks occasionally roll out India-shaped rotis on a rushed morning! Most importantly, keep the movement light and relaxed—tensed hands just end up distorting the dough more. Focus on consistency, not speed. Make a game out of it: time yourself, and see if your third roti is rounder than your first.
The Art of Cooking: Puffed and Even Rotis Every Time
Coming off the rolling board, the hot tawa (griddle) is your roti’s final test. There’s a right way (and several wrong ones) to get that soft, even, and puffed look we’re after. Forget the myth that “only experience counts”—it’s about noticing small things and making tiny adjustments.
The tawa should be medium-hot. Flick a few drops of water onto the surface. If they sizzle and evaporate in 1-2 seconds, you’re good. Too cold, and your roti will turn hard. Too hot, and it’ll char before puffing up. Use a thick-bottom, seasoned cast-iron tawa for the best results—it holds and distributes heat evenly.
Carefully lift rolled dough (try not to stretch it), and slap it onto the tawa. Let it cook for 10-12 seconds, or until you see tiny bubbles form. Flip it, and let the other side cook for another 10-12 seconds. Here’s where the magic happens: Use a cloth, folded kitchen towel, or spatula to gently press the roti. If your dough and rolling were spot on, the roti will balloon up like a beach ball. This is a sign of perfectly balanced moisture and gluten.
The golden rule? Never press so hard that you flatten the roti entirely, and don’t flip it too many times. Two is perfect. If you’re feeling brave, pick up the semi-cooked roti with tongs and let it puff directly over the open flame. This is the classic way, but if your rotis aren’t rolling and rolling well, stick to the tawa first.
For a final flourish, always brush your cooked rotis with a dot of ghee or butter. It keeps them soft and gives a glossy finish. Compare your results with this simple table of successful roti cues:
| Sign | What It Means |
|---|---|
| Puffs Fully | Moist, well-kneaded dough; even rolling |
| Dark Spots | Tawa too hot |
| Flat, Hard Roti | Dough too dry or tawa not hot enough |
| Burnt Edges | Uneven rolling or too much heat |
Store rotis in a kitchen towel inside a closed box or casserole dish. This traps steam and keeps each round, soft, and moist—just like you want them.
Pro Tips, Fun Facts, and Game-Changing Kitchen Hacks
This might surprise you—every region of India has slightly different ideas about what makes a ‘perfect’ roti. Some like it thin and transparent, some want a thick, soft, almost naan-like bite. But no matter the style, roundness is admired everywhere. Historically, round breads symbolized unity and completeness in many cultures, a cool tidbit to share with someone while you’re dishing up dinner.
- Always knead dough with your palm and knuckles, not fingertips. Palm pressure mixes and traps air, crucial for puffing.
- If you’re kneading big batches, divide the dough into smaller balls and keep them covered so they don’t dry out.
- Want softer rotis? Add a tablespoon of yogurt or milk into the dough. This little trick makes them extra pliable and tender.
- Trying to multitask? Freeze extra dough balls in a zip-lock bag. Thaw at room temperature before use—they’ll roll out as if freshly made.
- Use a clean, flat rolling surface. Wooden boards work best since they grip the dough slightly, but smooth stone slabs can also do the job.
- If you’re still struggling with circles, try using a small circular lid as a cutting guide for those first few times. You’ll soon get the hang of free-form rolling.
Here’s a fun stat: According to a kitchen survey in 2023, over 70% of home cooks admitted they judged their own skills by the roundness of their rotis, not just the taste. It might be the world’s most harmless competition, but isn’t it satisfying to see a plate full of perfectly uniform breads?
Lastly, share the joy—get your kids or partner rolling rotis with you. Turn it into a weekly challenge, track your progress, and laugh over awkward shapes. With enough practice and these tested tricks in your back pocket, you won’t just be making round rotis; you’ll be making memories and traditions. So roll on and celebrate the humble, delicious, perfectly round roti!