Fresh paneer in under 30 minutes? Totally doable. Making paneer at home is way simpler than people think. You only need milk, some kind of acid (like lemon juice or vinegar), a strainer, and a clean piece of muslin or cheesecloth. That’s literally it. No fancy gadget required, and you won’t be chasing weird ingredients around town.
When you make paneer from scratch, you control everything—how soft it turns out, how fresh it tastes, even how big or small to cut the cubes. Why settle for a store-bought brick that’s been sitting on a shelf for two weeks? Plus, homemade just feels more satisfying. My daughter Zara loves sneaking a warm bite right after I cut it, and honestly, it’s so creamy and fresh, you’ll want to eat it straight too.
- What You'll Need to Make Paneer
- Curdling the Milk: The Science and Steps
- Shaping and Pressing Your Paneer
- Tips for Storage and Tasty Recipes
What You'll Need to Make Paneer
Making homemade paneer doesn’t require anything fancy, which is honestly one of the best things about it. You’ll find most of what you need already sitting in your kitchen. Let’s get straight to it.
- Milk: Go for full-fat or whole milk. You want that creamy, soft texture. Skim or low-fat milk works, but the paneer will come out a bit more crumbly and dry. Packaged milk works fine, but fresh dairy milk gives richer results.
- Lemon Juice or Vinegar: This curdles the milk to form cheese. Lemon juice is my first choice for that subtle tang, but plain white vinegar does the trick too. Don’t use flavored vinegar (trust me, nobody wants apple cider paneer).
- Muslin Cloth or Cheesecloth: This is just for straining the curds. Clean cotton napkins also work. Skip anything with dyes or strong detergent smells—paneer picks up flavors super easily.
- Large Pot: You’ll boil the milk here, so make sure it’s roomy. Paneer tends to boil over if the pot is too small.
- Strainer or Colander: This helps remove all the whey (liquid) from your paneer curds. No colander? Use a fine sieve.
- Heavy Object: For pressing the paneer. A pot filled with water, a clean brick, or anything that’s heavy and clean works. You don’t need a special press for this.
If you want to get specific, here’s the standard ratio that works well in most Indian kitchens:
| Ingredient | Amount (for 200g paneer) |
|---|---|
| Full-fat Milk | 1 liter (about 4 cups) |
| Lemon Juice (or Vinegar) | 2-3 tablespoons |
Extra tip: Avoid using UHT (Ultra-High Temperature) or long-life milk. It won’t curdle well and the paneer might end up rubbery. Stick with regular pasteurized milk if that’s all you can get—results will still be tasty.
That’s it—no weird tools, no complicated planning. Once you have these on hand, you’re set for your homemade paneer adventure.
Curdling the Milk: The Science and Steps
Curdling milk is what turns regular milk into paneer. There’s actually a science behind it—when you add an acid like lemon juice or vinegar to hot milk, it separates into solid curds and liquid whey. Kids often think it’s magic, but nope, it’s just basic chemistry at work. The acid breaks the casein protein bonds, causing the solids to clump together. That’s all you need for homemade paneer.
Here’s how to nail the process each time:
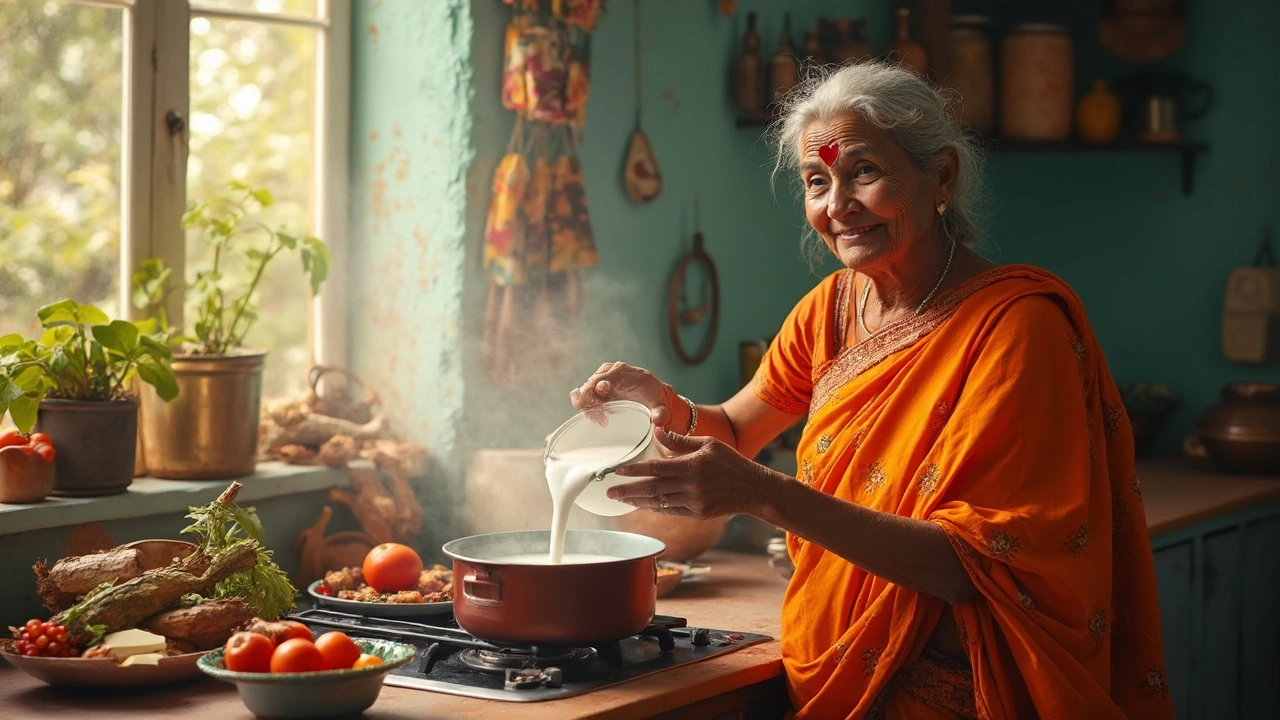
- Start with full-fat milk. Low-fat or skim just doesn’t get you rich, creamy paneer. Pour 1 liter of milk into a big, heavy-bottomed pot to avoid burning.
- Bring the milk to a gentle boil over medium heat, stirring now and then. Once it’s bubbling, turn the heat down.
- Mix 2–3 tablespoons of lemon juice or white vinegar with 2 tablespoons of water. Slowly pour this mixture into the hot milk, bit by bit, while stirring.
- Watch for the color to change—the milk will separate right in front of you. You’ll see greenish whey and chunky curds. If it doesn’t split after a minute, add a little more acid.
- Turn off the heat as soon as you see clear separation. Overheating makes the paneer hard and rubbery. Let it sit for a couple of minutes to settle.
One thing that trips people up: temperature. The sweet spot is just after the milk starts boiling, about 90-95°C (for perfectionists with a thermometer, or just when you see a rolling boil for everyone else).
| Milk Amount | Acid Needed | Paneer Yield |
|---|---|---|
| 1 liter | 2-3 tbsp lemon/vinegar | ~180-200g |
This step basically decides the texture of your homemade paneer. Stir gently, don’t rush, and stop as soon as the milk curdles. The result? Soft, fluffy paneer ready for the next step.
Shaping and Pressing Your Paneer
This is the part where homemade paneer really becomes that familiar slab you know and love. Once the curds have separated from the whey, you’ll need to shape and press them. Here’s how to get it right without fancy tools.
- Drain the Curds: Line a colander with a clean muslin or cheesecloth and pour in the curds and whey. Gather the corners of the cloth and tie them together to make a bundle. Hold it up and let most of the liquid drain out—this takes about 1-2 minutes.
- Rinse the Curds: Rinse the bundle under cold running water. This stops the cooking process and washes away that tangy lemon or vinegar flavor. Don’t skip this step—it makes a huge difference for the taste.
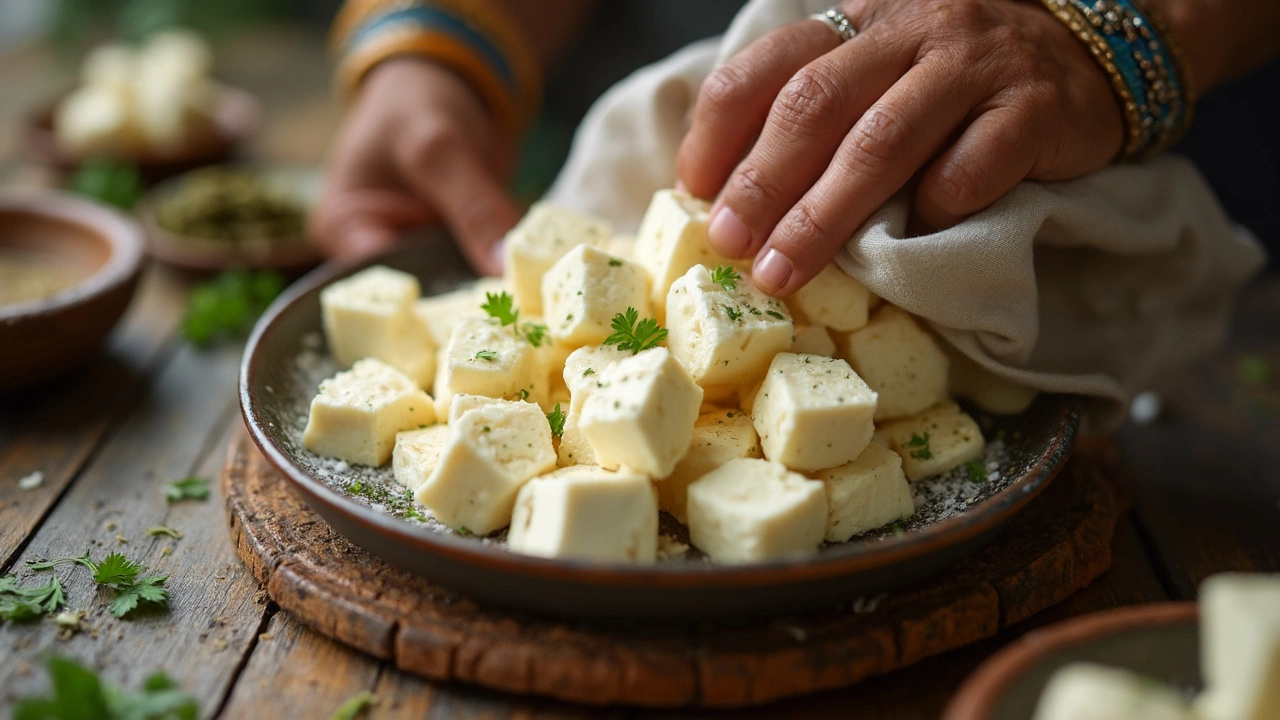
- Shape Your Paneer: Twist the cloth to squeeze out extra moisture. Then, flatten the bundle slightly with your hands and place it on a plate or board. Now, put something heavy on top—a pan, a heavy pot, even a big water bottle will do. About 1 to 2 kilograms of weight works best. This helps press the paneer into a firm block.
- Timing Matters: For soft, crumbly paneer, press it for about 15-20 minutes. For a firmer, sliceable cheese (perfect for tikka or frying), go for 30-40 minutes. If it’s too soft, it’ll fall apart when you cook it. Too firm, and it might get rubbery, so aim for a happy medium.
Ready for a quick cheat sheet? Here’s what usually works best at home:
| Press Time (minutes) | Texture | Best For |
|---|---|---|
| 15-20 | Soft, crumbly | Bhurji, paratha stuffing |
| 30-40 | Firm, sliceable | Grilling, curries |
Once pressed, unwrap the homemade paneer and transfer it to a container or straight into your next recipe. If you want neat cubes, pop it in the fridge for 30 minutes before slicing. It holds its shape better when chilled. And yep, that’s it—fresh, clean paneer ready in your own kitchen.
Tips for Storage and Tasty Recipes
If you go through the effort of making homemade paneer, you should keep it tasting as fresh as possible. Once you slice and use what you need, stash the leftover paneer in an airtight container. Cover the cubes with water—that keeps them moist and stops them from drying out in the fridge. It works even better if you change the water every day. This way, fresh paneer lasts 2–3 days chilled. If you need to keep it longer (say, for the whole week), pop it in the freezer. Just remember, frozen paneer gets a little crumbly after thawing, so it’s best for curry or stuffed dishes, not tossing on a salad.
Worried about food safety? Food labs suggest storing paneer at or below 4°C (about 39°F). Here’s a quick comparison you might find useful:
| Storage Method | Fridge Life | Best Use |
|---|---|---|
| Refrigerator (soaked in water) | 2–3 days | Any fresh dish |
| Freezer (airtight) | 1–2 months | Curry, baked dishes |
Now for the fun: what do you do with all that fresh paneer? Here are easy, crowd-pleasing ideas:
- Paneer bhurji: Scramble your paneer (like you do with eggs) and sauté it with onions, tomatoes, and a sprinkle of cumin. Pile it onto toast for a protein-packed breakfast.
- Paneer tikka: Marinate cubes in yogurt, garlic, and spices, then skewer and grill them. Even oven roasting works. It’s way better than takeout.
- Palak paneer: Blend spinach with garlic, chili, and ginger, then drop cubes of homemade paneer in for a classic dinner. It tastes much richer with fresh paneer.
- Stuffed paratha: Mix grated paneer with chopped green chilies and cilantro, and stuff it into dough for the best breakfast my daughter Zara begs for.
- Paneer salad: Toss cubes with cherry tomatoes, cucumber, and a dash of black pepper. It’s filling but light—great for lunch boxes!
Experiment with little flavor twists: add chopped mint or some chili flakes to your fresh paneer before pressing it. That way, you get more than just the plain stuff without any extra work once it’s set. If you end up with crumbly bits after storing, just crumble them over soup or into wraps—no waste, just flavor.