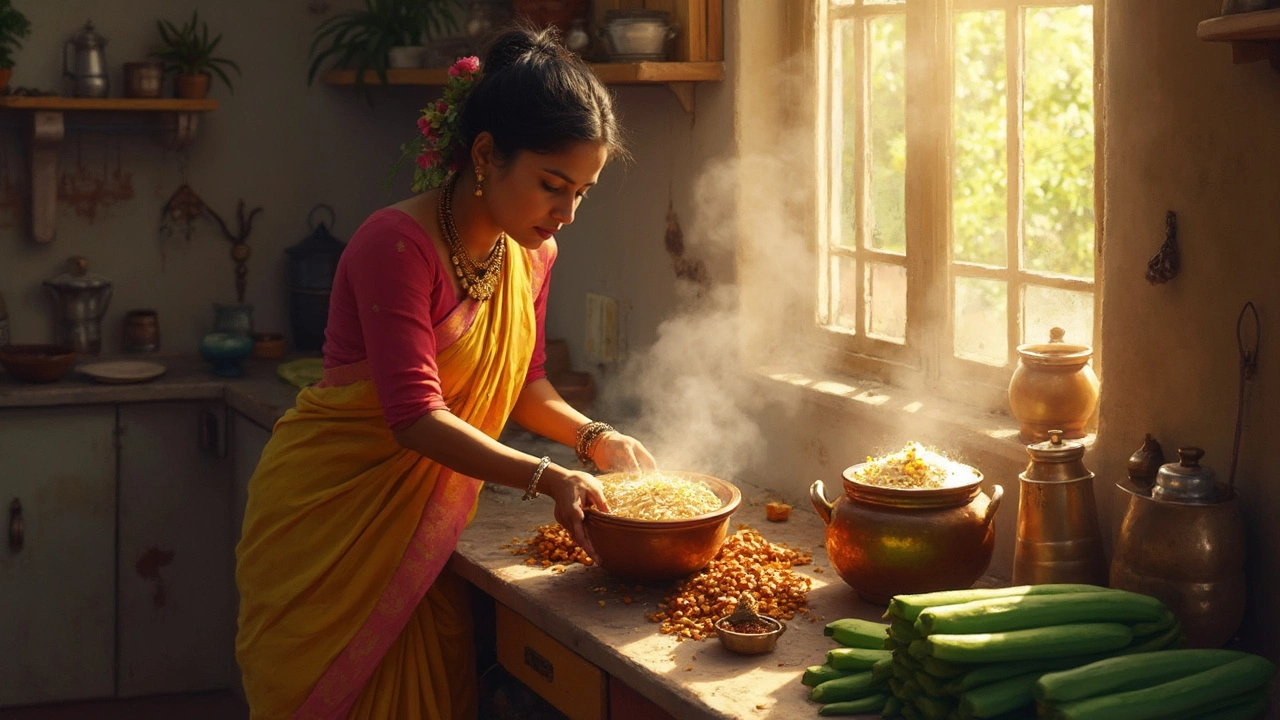
Making idlis from scratch? The real magic starts way before you ever switch on the stovetop. How long you soak your rice and urad dal decides whether you get soft, melt-in-your-mouth idlis or little hockey pucks.
There's a sweet spot for soaking both rice and dal. Get it wrong, and your batter won't ferment right. Too short? The grains stay tough, grinding turns into a workout, and your idlis come out dense. Let them sit for too long and the batter can go sour.
It sounds dramatic, but it's true: soaking time literally makes or breaks your batch. And it's not the same for both rice and urad dal. Ready to find out exactly how many hours you need—and how to use a few clever hacks to save time if you're in a pinch?
- Why Soaking Time Matters
- How Long to Soak Rice for Idli Batter
- How Long to Soak Urad Dal for Idli Batter
- Soaking Tips for Different Climates and Seasons
- Quick Fixes and Troubleshooting
Why Soaking Time Matters
Ever wondered why everyone keeps saying, "Don’t rush the soaking" when talking about making idli batter? The truth is, soaking rice and urad dal starts breaking down the grains, making them softer and way easier to grind. If you skimp on this step, grinding will be a struggle, and you’ll never get that smooth batter which is the backbone for soft, fluffy idlis.
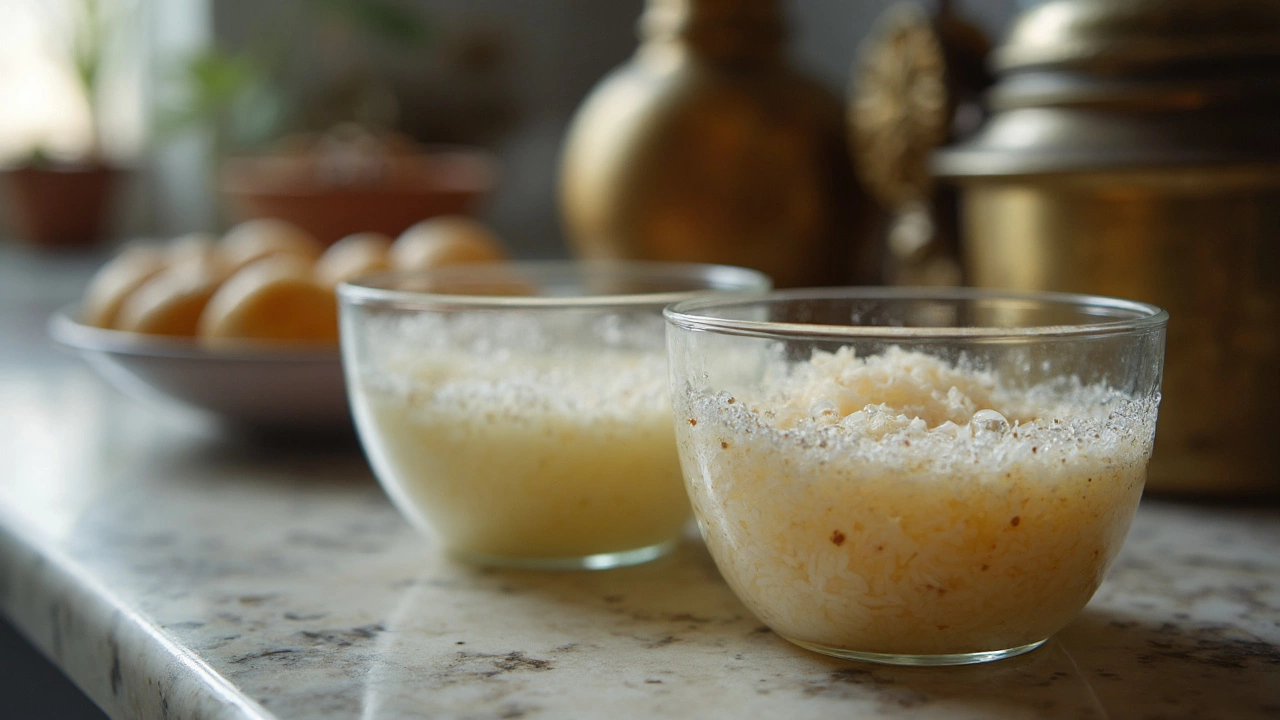
Letting rice and dal soak up water helps both ingredients ferment better. Fermentation is that magic moment when your batter turns light and airy. Without proper soaking, your batter won’t rise, and you’ll end up with dense, flat idlis. Also, soaked grains absorb water, which is vital for smooth grinding in even basic home mixers.
Check out what happens during soaking:
- Idli batter grinds faster and smoother.
- The grains hold more water for a naturally airy batter.
- Softer rice and dal give you a uniform mix, helping both ferment evenly.
- Well-soaked dal creates that much-loved spongy texture in your idlis.
If your kitchen is cold or you use old rice, you might need a bit longer. Temperatures matter—anything below 20°C (68°F) can slow soaking and fermentation by a couple of hours. If you ever see your idli batter refusing to rise, nine times out of ten, it’s either under-soaked or under-fermented.
| Ingredient | Ideal Soak Time | Texture Goal |
|---|---|---|
| Rice | 6-8 hours | Soft but not mushy |
| Urad dal | 4-6 hours | Pillowy and doubled in size |
So next time you’re prepping for idli or even dosa batter, remember: patience pays off. Give the rice and dal the hours they need to truly shine.
How Long to Soak Rice for Idli Batter
If you want those soft, pillowy idlis, you can’t skip the right soaking time for idli batter rice. The usual rule? Let your rice soak for at least 4 to 6 hours. Don’t rush it—this step helps the rice soften up so it grinds into a smooth batter and ferments properly. If you cut this short, you’ll often end up with grainy, dense idlis instead of the fluffy kind everyone loves.
Thinking of soaking overnight? That’s totally fine, especially if your kitchen’s on the cooler side. The rice won’t spoil, and actually, a longer soak can make things even softer and easier to grind. The classic ratio is two cups of parboiled rice to one cup of urad dal for traditional idli batter.
- Standard Minimum: 4 hours
- Best Range: 6 hours for perfect softness
- Overnight (8 hours): OK if temperature is not too hot
Always use enough water to fully submerge the rice. If your water gets cloudy, it’s normal. Just swirl the rice, drain, and add fresh water before soaking.
| Soaking Time | Texture Result | Grindability |
|---|---|---|
| 2 hours | Still hard | Tough to grind |
| 4 hours | Becoming soft | Decent |
| 6 hours | Ideal softness | Super easy |
| 8+ hours | Very soft | Effortless |
Don’t skip that pre-soak wash—rinsing the rice three or four times before soaking helps remove extra starch and keeps your idli batter from sticking or turning gummy later on.
How Long to Soak Urad Dal for Idli Batter
For really soft and pillowy idlis, soaking urad dal isn’t just some step you can rush. The gold standard is to soak whole urad dal (that’s the black gram split or whole, without skin) for at least 4 to 6 hours. If you let it chill in water for this long, it becomes soft enough to blend into a super smooth paste. This smoothness is what traps the air and helps the batter ferment well, so your idlis come out light instead of heavy.
If you’re in a cold place, tack on an extra hour. Some people soak overnight if they need to prep in advance, but that’s only fine if you’re dealing with very cool temperatures—otherwise, you risk the dal starting to ferment before you even grind it, making the idli batter taste a little weird.
Skip the urge to just dump the dal and rice into one bowl. Urad dal actually needs to soak alone. When you soak them together, the rice bits can stop the dal from breaking down properly. Here’s the best way to do it:
- Wash urad dal well (you want to rinse until the water runs clear).
- Soak it in plenty of water—at least three times the volume of dal, so it has room to swell up.
- Set it aside at room temperature, away from direct sunlight.
Splitting hairs between whole urad and split urad (skinned)? Whole dal is actually better for idli batter because it fluffs up the batter more. If you use split urad dal, you can sometimes cut the soak to 3-4 hours, but the texture may not be quite as fluffy.
| Type of Urad Dal | Recommended Soaking Time |
|---|---|
| Whole, skinless urad dal | 4-6 hours |
| Split urad dal | 3-4 hours |
If you’re really pressed for time, soaking in warm (not hot!) water can speed things up, though the result might not be as airy. But honestly, nothing beats good, old-fashioned patience for classic idli batter.
Soaking Tips for Different Climates and Seasons
Weather plays a huge role in how your idli batter turns out, especially the soaking step. What works in the heat of South India just won’t cut it in a chilly kitchen in Europe or a bone-dry summer in California. Here’s how you can tweak the soaking time for soak rice and soak urad dal to suit wherever you live.
Hot and Humid: In warm places, fermentation gets a head start. So you can usually go with the standard 4-6 hours of soaking for both rice and dal. Anything more, and you risk the batter smelling funky or even turning sour before you get to grind it. If the temp’s consistently above 30°C (86°F), check your grains at the 4-hour mark—they’ll probably be ready for grinding.
Cold or Winter Weather: In a cold kitchen, the grains take their own sweet time to soften up. Try soaking for up to 8 hours, especially for urad dal. If you soak overnight, avoid leaving the bowl right next to a drafty window. Some people use slightly warm water to kick-start the process, or they put the bowl in the oven with just the light on. This small trick makes a real difference when it’s freezing outside.
Dry or Air-Conditioned Rooms: Air conditioning and dry weather can mess with soaking. Here, you might need a little more water. If you see the water level dropping as the grains soak, just top it up. Don’t let the rice or dal stay half-dry—they won’t grind properly and your idli batter won’t rise well.
Here’s a quick cheat sheet for soaking based on different climates:
| Climate | Rice Soaking Time | Urad Dal Soaking Time |
|---|---|---|
| Hot & Humid (over 30°C/86°F) | 4-5 hours | 4-5 hours |
| Mild (20–25°C/68–77°F) | 5-6 hours | 5-6 hours |
| Cold (under 20°C/68°F) | 6-8 hours | 7-8 hours |
If you’re short on time, a little hack is to soak both rice and dal in warm water (not hot—otherwise you’ll cook them!). This can shave off an hour, but don’t rush more than that or you’ll get gritty, weird batter.
Finally, never soak idli batter ingredients in a steel bowl if your kitchen is freezing cold. Go for ceramic or glass. These help keep the grains warm enough to soften well. It’s a tiny difference but it actually shows up when you make your first batch of idlis.

Quick Fixes and Troubleshooting
Maybe you forgot to start soaking on time or maybe your idli batter just isn't cooperating. No worries—there are proven workarounds to keep your breakfast dreams alive.
If you’re short on time and forgot to soak your rice or urad dal overnight, here’s a quick tip: use warm (not hot!) water for soaking. Warm water speeds up the process and you can get away with soaking for about 2-3 hours in a pinch, but don't make it a habit for the best texture. According to specialty chef Chandra Padmanabhan,
“A warmer soak can cut your wait time by half, but always go back to a full soak for the fluffiest idlis.”
Soaking time may also be challenged during winter. Batter might not rise well because it’s cold. To fix this, try one of these easy hacks:
- Put the fermenting batter in your oven (with just the light on) or near your cooker if the kitchen is warm.
- Cover the batter with a thick cloth to trap some heat.
- If you have a yogurt function or ferment option on your Instant Pot, use it!
Sometimes your idli batter might be too runny. Don't panic. Add a handful of soaked poha (flattened rice) and grind it in. It helps thicken the batter and gives softness.
| Problem | Quick Solution |
|---|---|
| Forgot to soak | Use warm water, soak 2-3 hours |
| Batter not fermenting | Keep in warm spot (oven light/yogurt mode) |
| Batter too thin | Add soaked poha or a spoon of rice flour |
| Idlis come out hard | Soak urad dal longer, try better quality dal |
If your idlis are still hard or not rising, it could be your dal. Old urad dal is known for giving trouble. Always buy dal that's fresh and creamy white in color. Old dal can kill the fluff no matter how long you soak.
Don’t let a late start or a cold snap mess up your idlis. Tweak, test, and soon you’ll land on your own go-to idli batter hacks for perfect results every time.